
Can you believe that Easter is less than two weeks away?! This year I was looking for a way to personalize an earthy, natural Easter basket, and I couldn’t help but be inspired by images of peachy-pink pom poms embellishing storage baskets and totes. Hence today’s DIY pom pom Easter basket was born! Throw in a dash of lavender, and you have two of this season’s hottest colors decorating a retro-style basket with Boho chic flair! While this Easter basket project is perfect for kids, it’s also fun for adults who love keeping up with the latest design trends. Continue reading for all of the crafty details…
Project Supplies
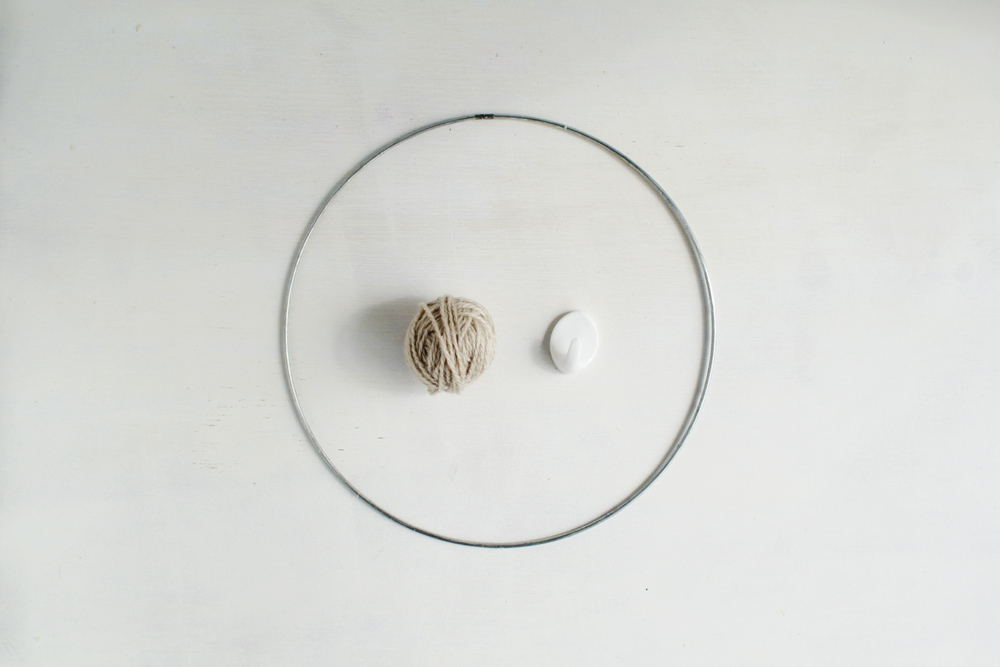
Did I mention that this project is not only easy to create, it’s super affordable! Here’s what you’ll need to get started…
- a natural woven Easter basket
- yarn in the colors of your choice
- scissors

I enjoyed using yarn of different thicknesses. The blush-hued selection is bulky gauge wool roving yarn, while the pale lavender is much thinner. The bamboo basket shown below (from Target) was a mere $6. And it’s big!

In case you’re interested, the lavender patterned blanket featured in this shoot is designed by Dusen Dusen, previously available through The Land of Nod. Let’s move on to the pom poms, shall we?!
DIY Pom Poms
Crafting your own pom poms is super easy, especially when you use thick yarn like this peachy wool roving yarn. With a little patience, you’ll have a fluffy pom pom in no time.
Step 1: Wind the yarn around the palm of your hand to create a bundle of loops.

Step 2: Wrap a piece of yarn around the middle of the bundle and tie with a double knot.

Step 3: Cut the ends of the loops with a pair of scissors.

Step 4: Fluff your pom pom and trim the ends if need be! Be careful not to trim the ends of the longer string securing the middle of your pom pom (they will come in handy later).

Step 5: Use your fingers to fray the wool roving yarn for an extra shaggy touch. Trim again if you wish for a neat finish.

It’s Basket Decorating Time
Remember that piece of yarn you used to secure the middle of your pom pom while you were crafting it?! You should have a couple of loose ends to work with. Work one end through a hole in the basket and use the other as you tie a knot. Now you’ve secured your pom poms! As you can see, I chose blush and lavender yarn to embellish my Easter basket.

While it took a little bit of patience, I frayed the yarn of the lavender pom pom as well for some extra texture. Love the look but short on time? Use thicker yarn. You get fluffier pom poms faster!


Keep in mind that you can get a very different look with different hues. Peachy-pink and lavender definitely celebrate Easter pastels in full effect, but earthier or bolder colors can create an even more modern feel.

This basket is great for an Easter portrait with your little one! Of course, you can enjoy filling the basket with goodies, and pom poms give it a full look from the outside as well.

Wishing you a cheerful, festive Easter with your nearest and dearest! Thanks for reading!
You’re reading A DIY Pom Pom Easter Basket for Kids, originally posted on Decoist. If you enjoyed this post, be sure to follow Decoist on Twitter, Facebook and Pinterest.

Leave a Comment